Setting Up Custom Fields
Last updated: August 11, 2026
Note: Custom Fields is generally available and on by default for every account. Each account has a custom field limit based on its plan. If you'd like to increase your limit, contact your Terminal49 Customer Success Manager or reach out via support@terminal49.com or our in-app chat.
Where to Configure
Log into Terminal49.
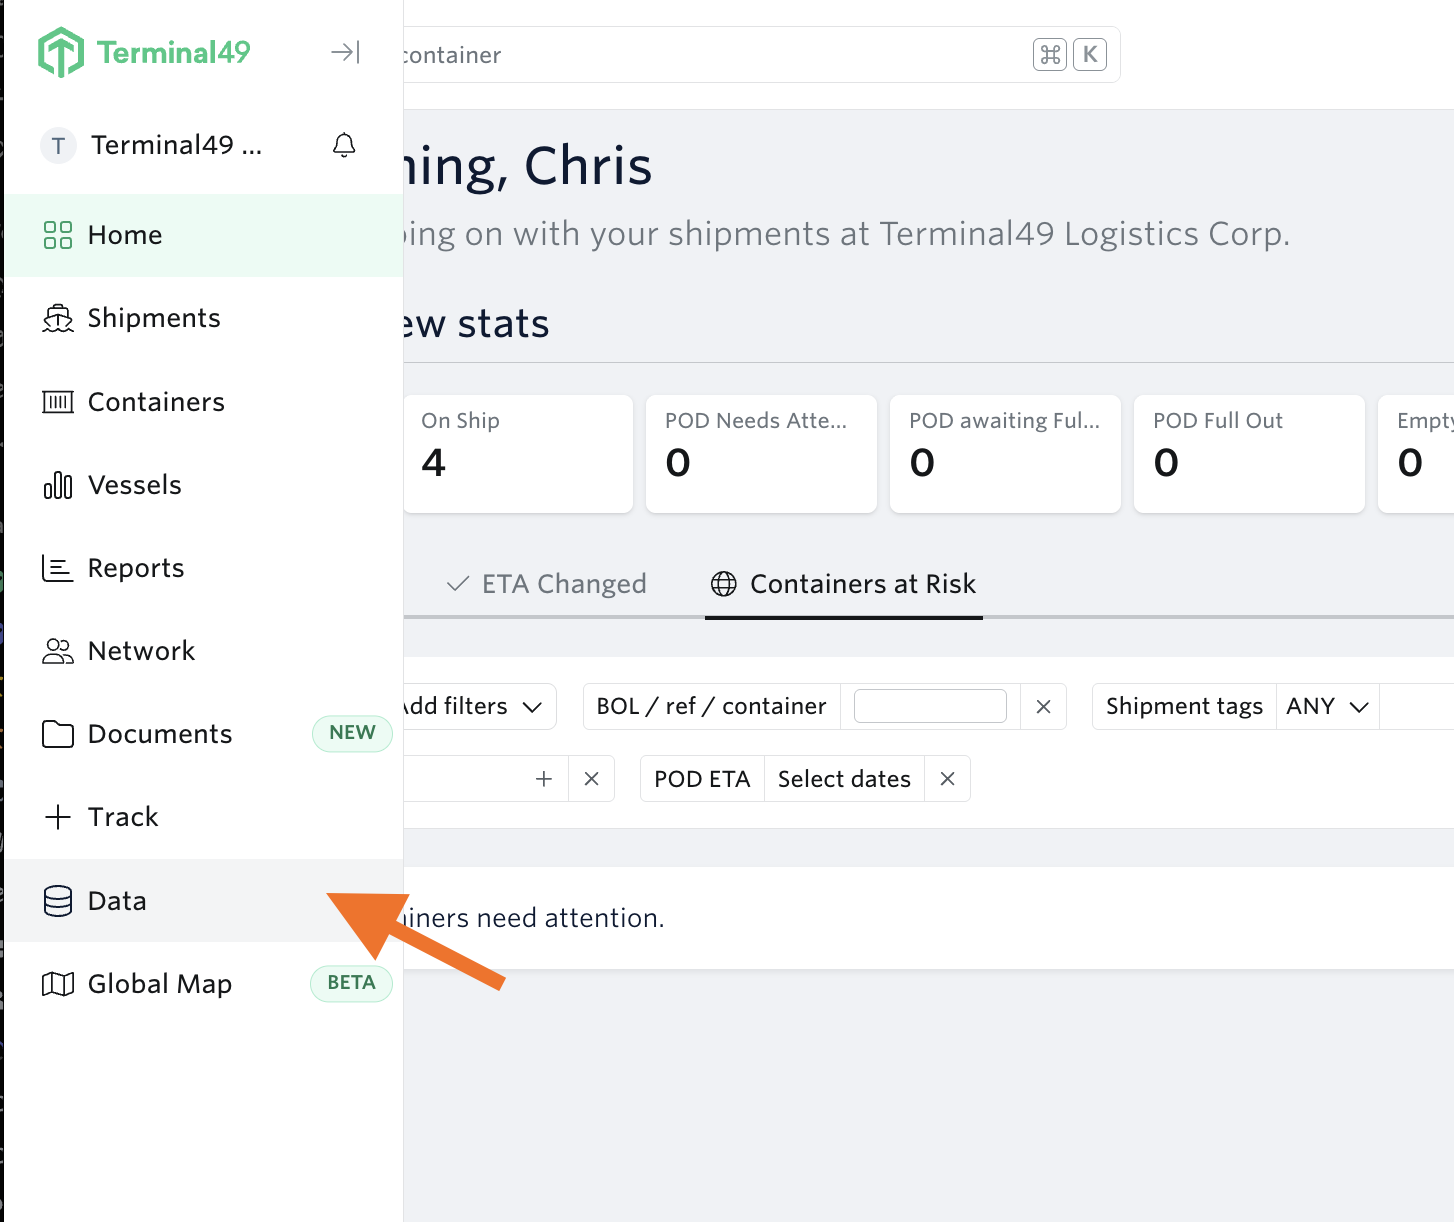
Click your Data on the left navigation bar.
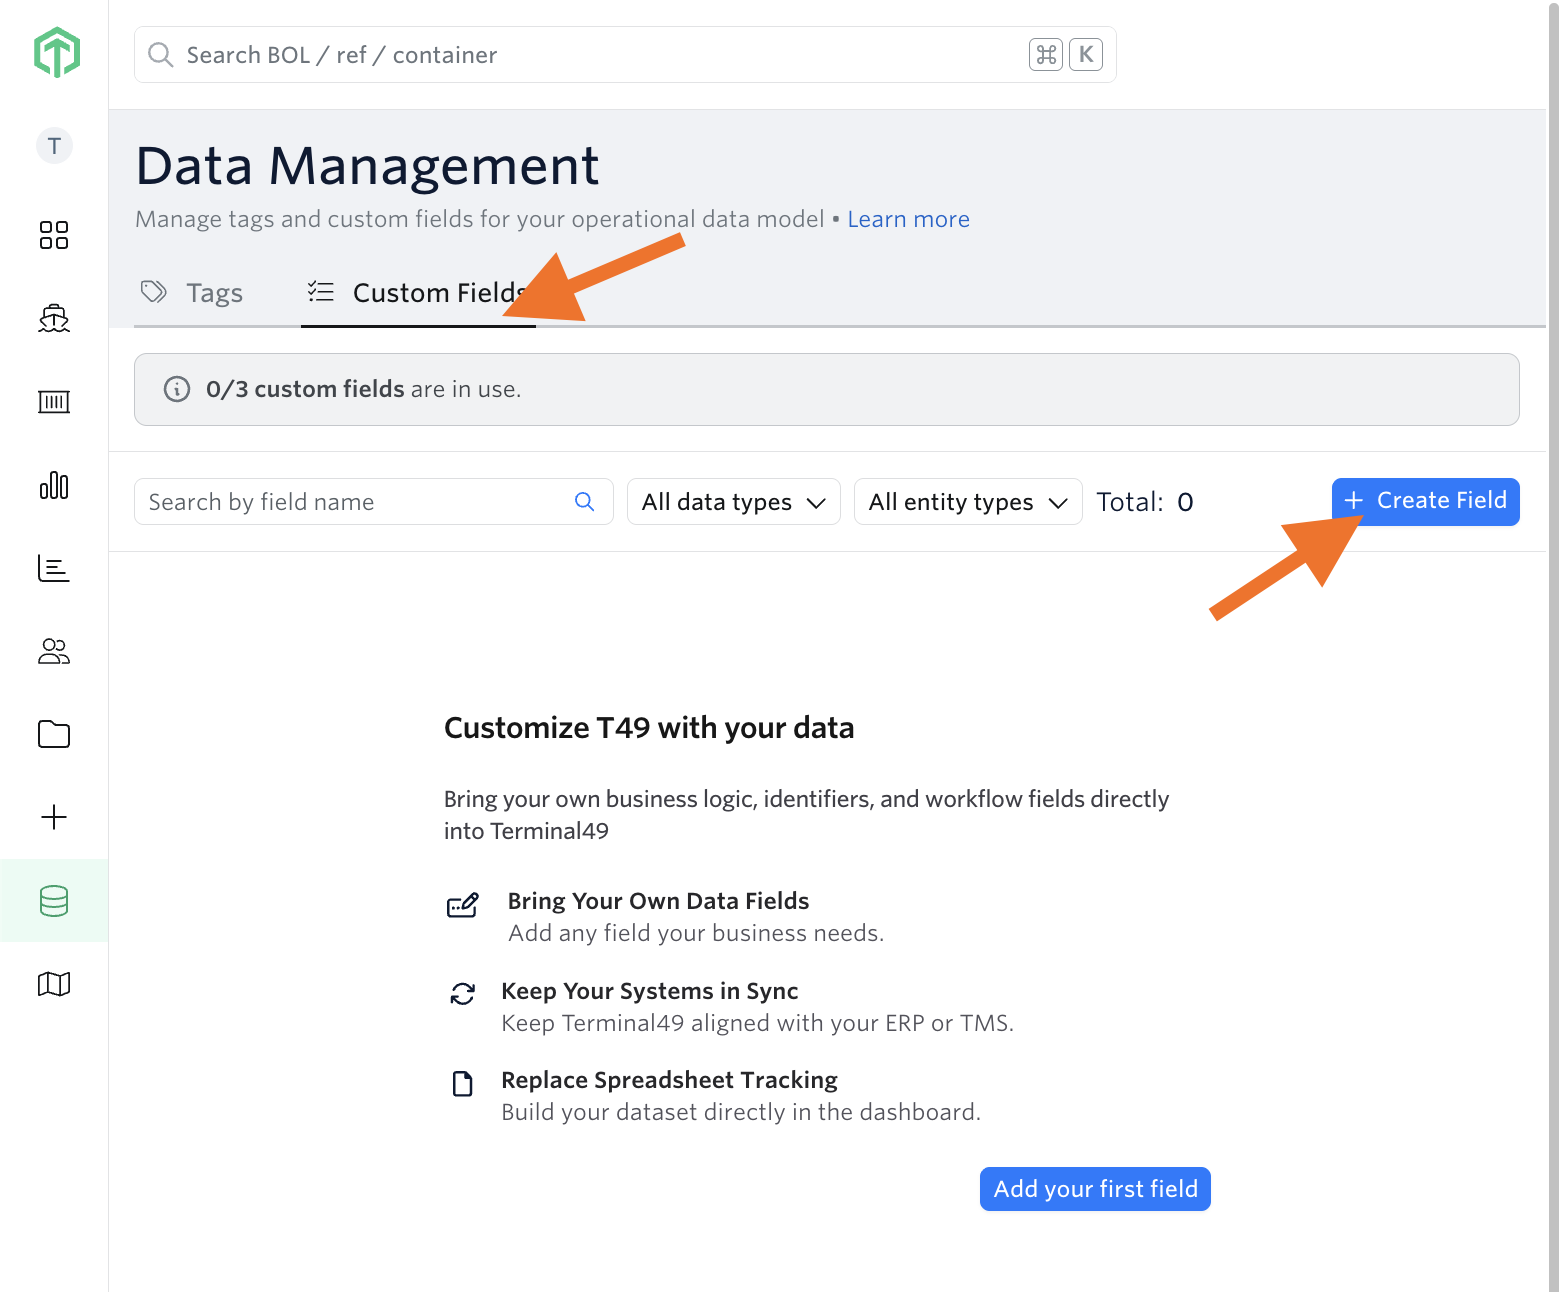
Go to Custom Fields Tab
This page displays all Custom Fields for your organization. Here you can create, edit, or delete fields.
Creating a New Field
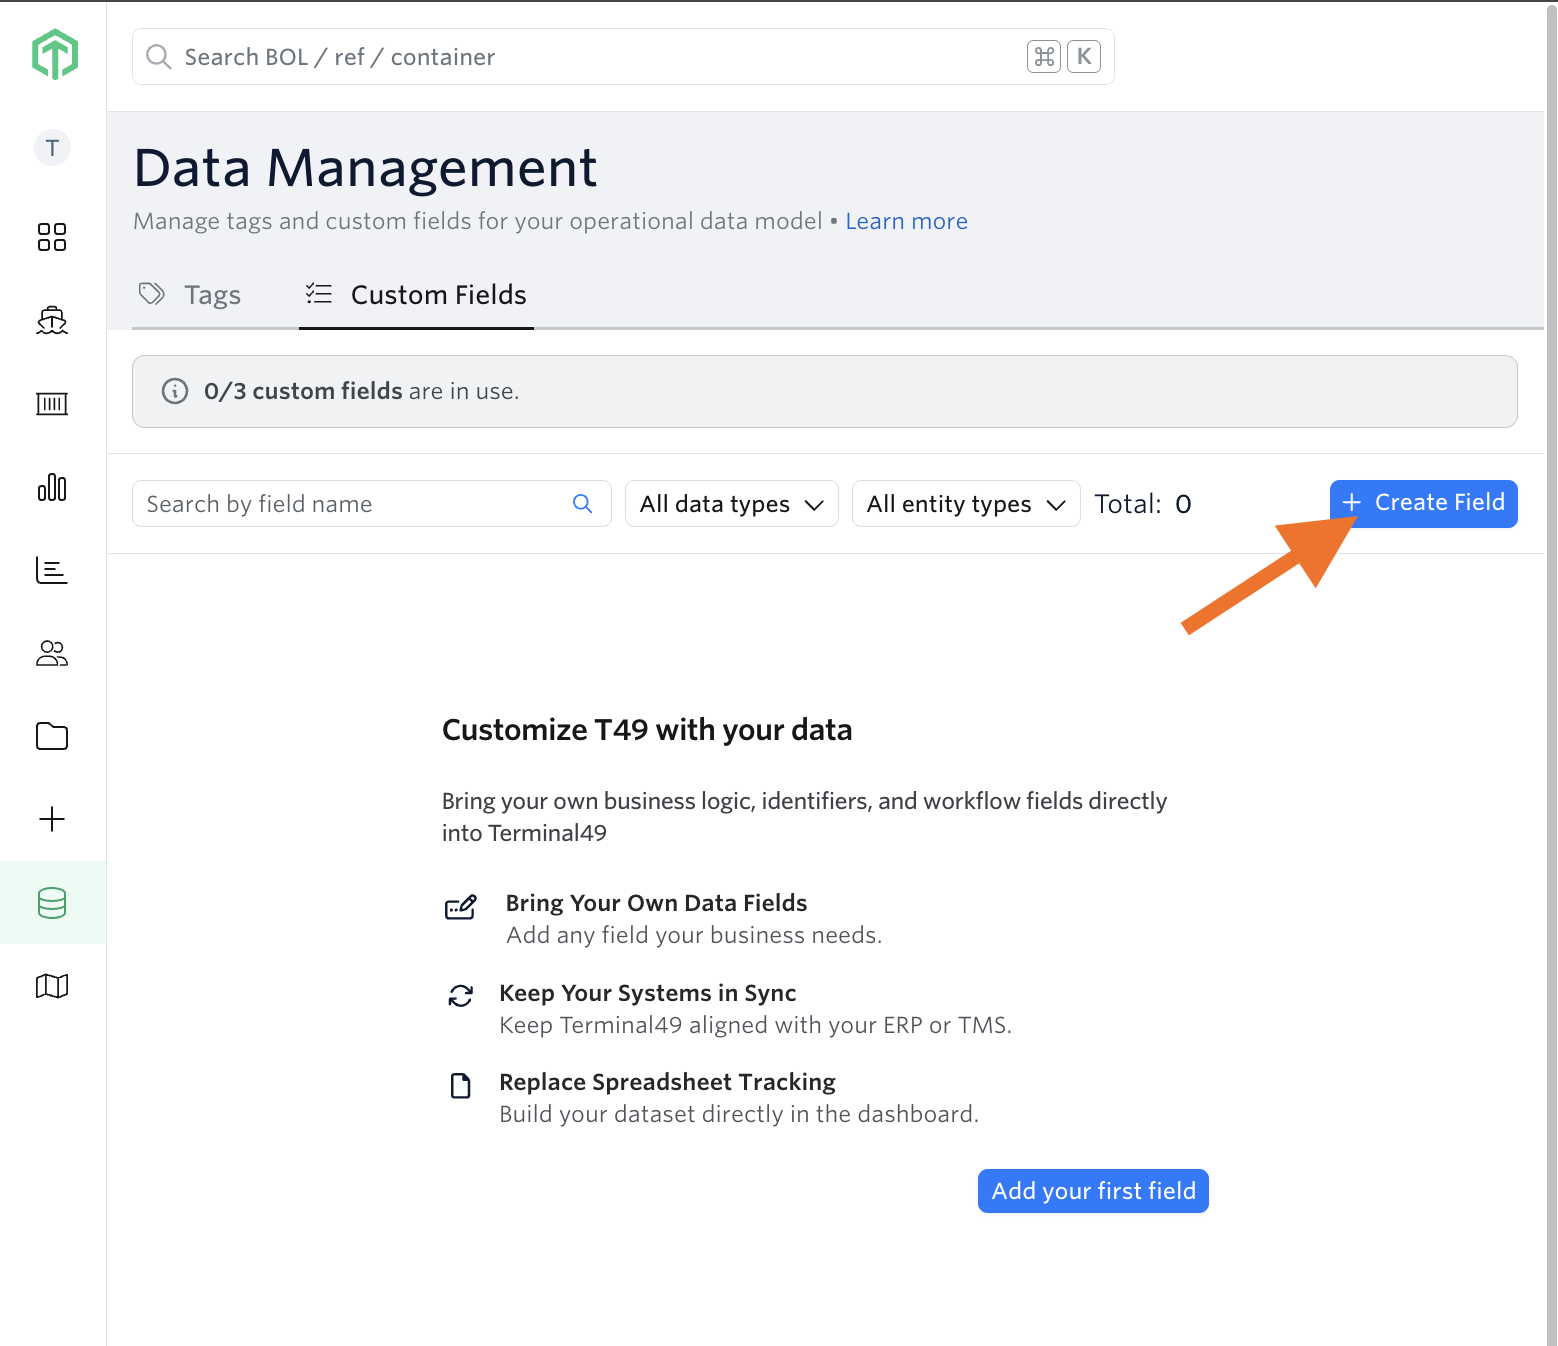
Click Create Field.
Choose a creation method:
Template - start from one of Terminal49's ready-made field templates (e.g., common reference numbers or workflow fields), pre-filled with a name, type, and description you can adjust before saving
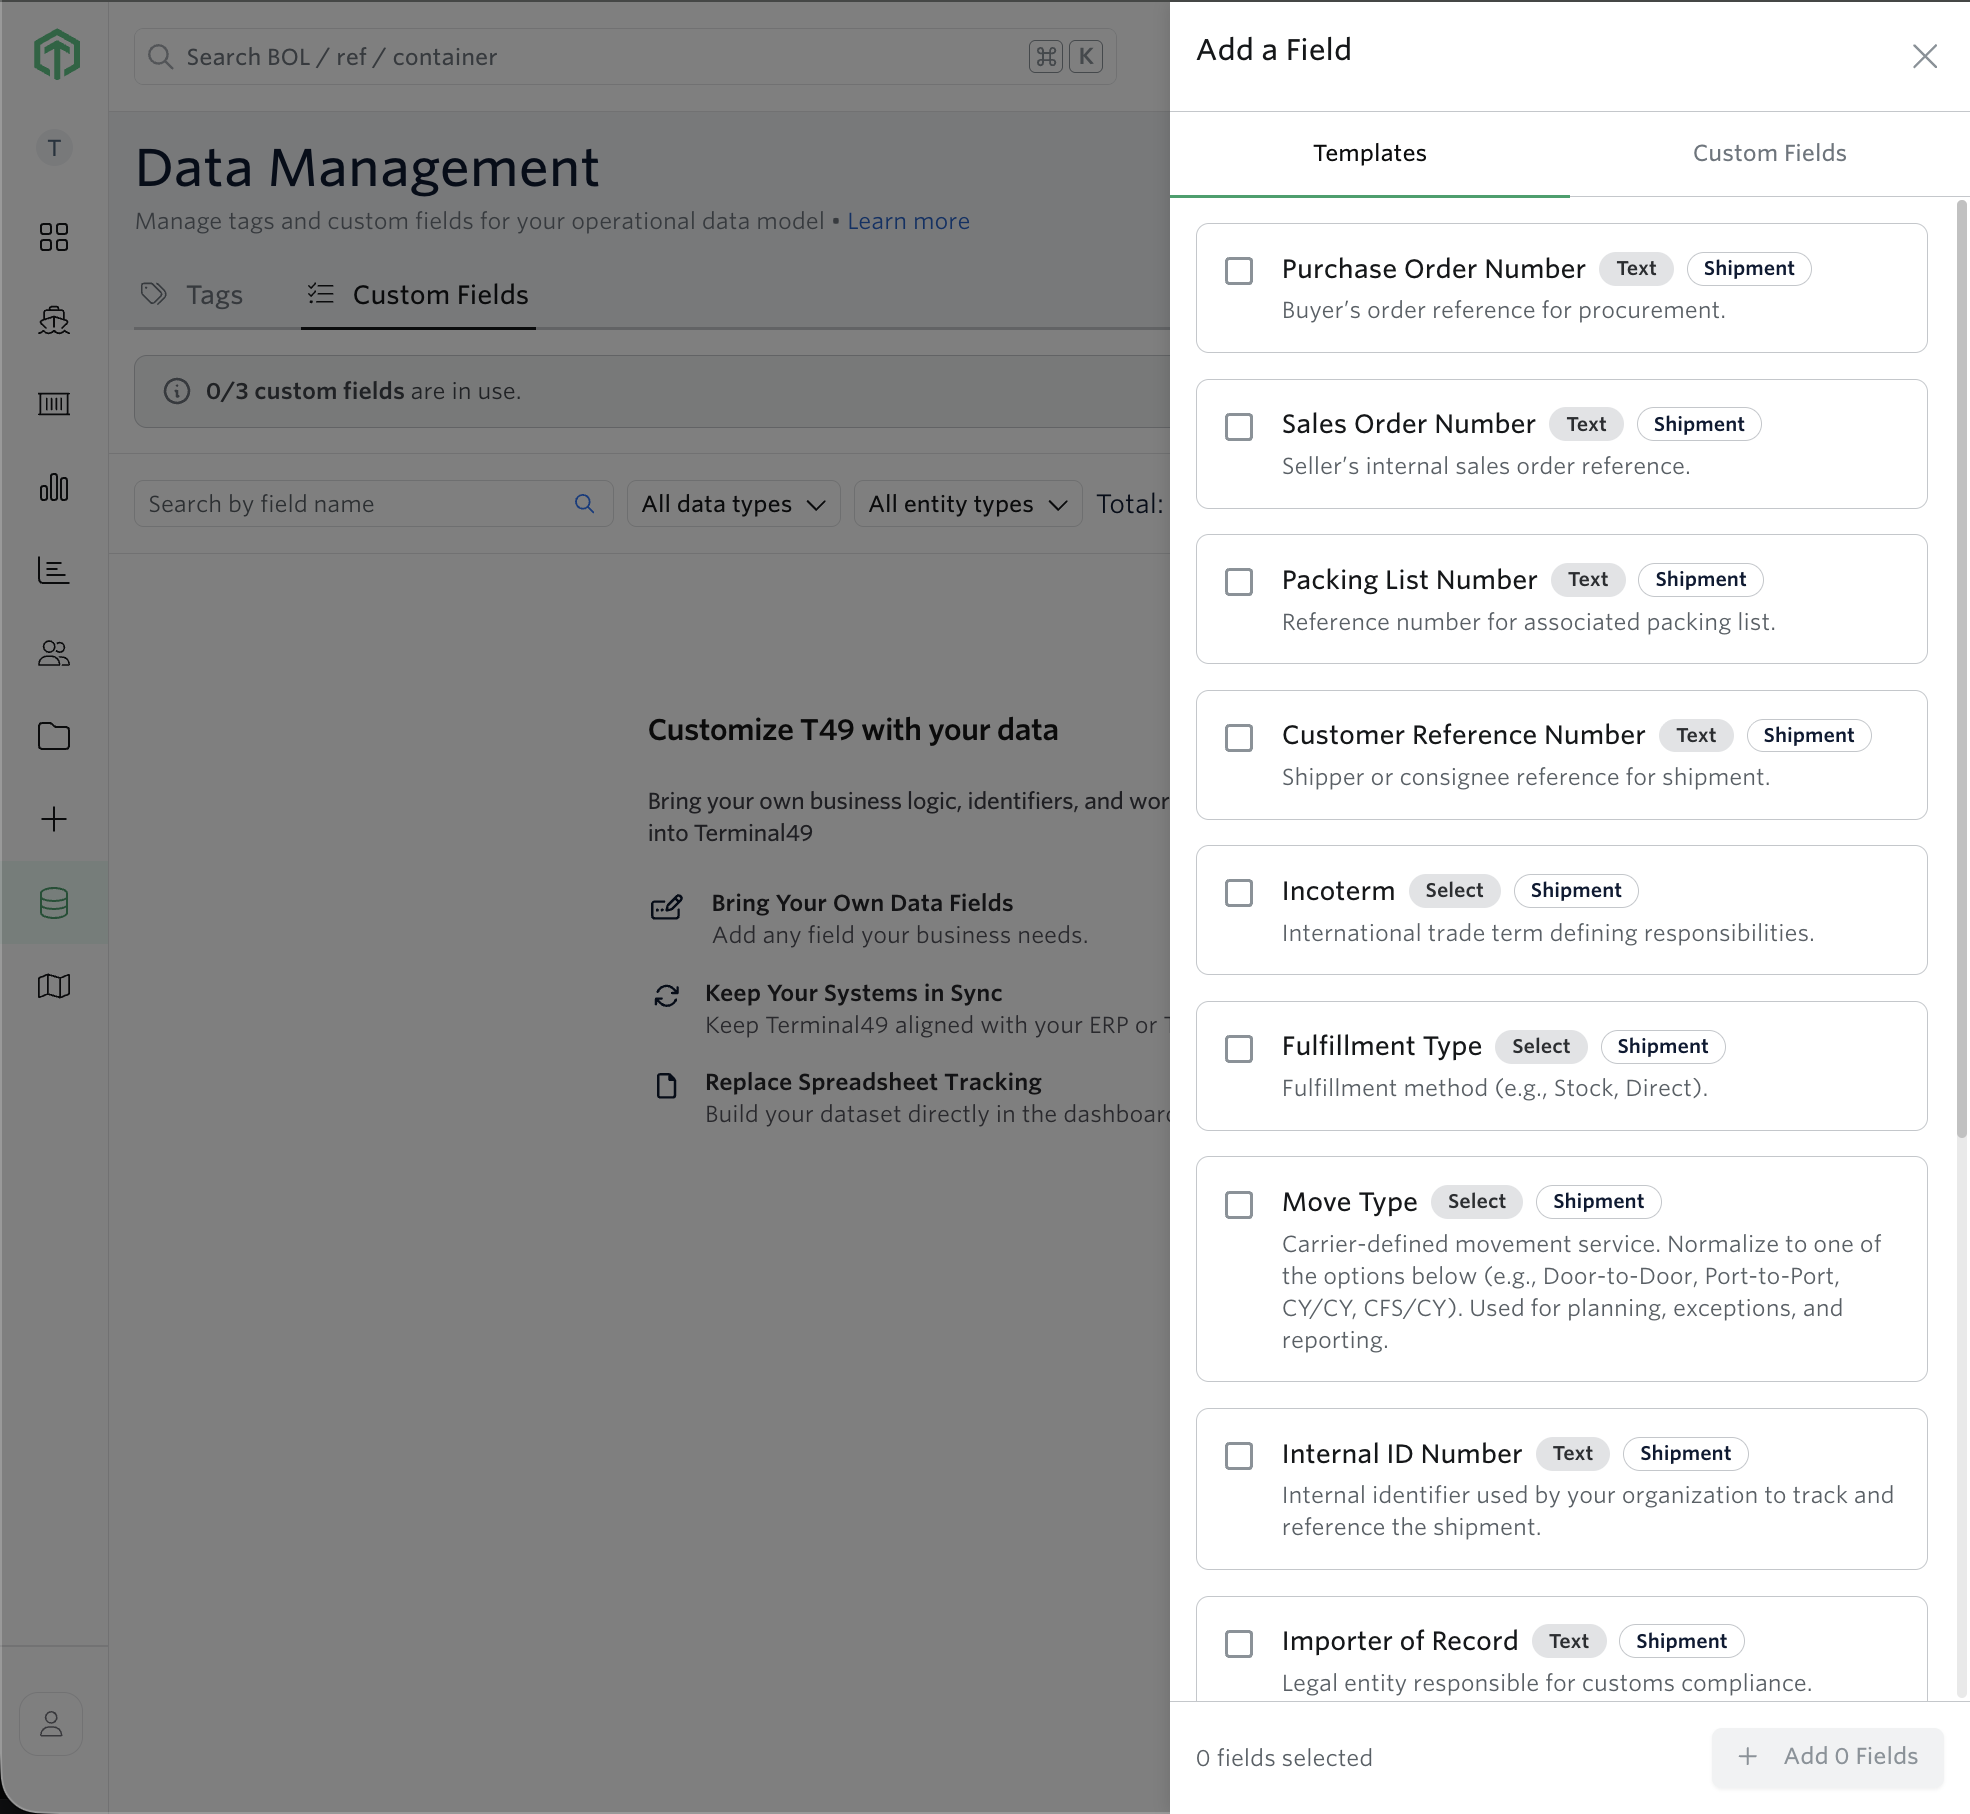
Custom—define your own from scratch
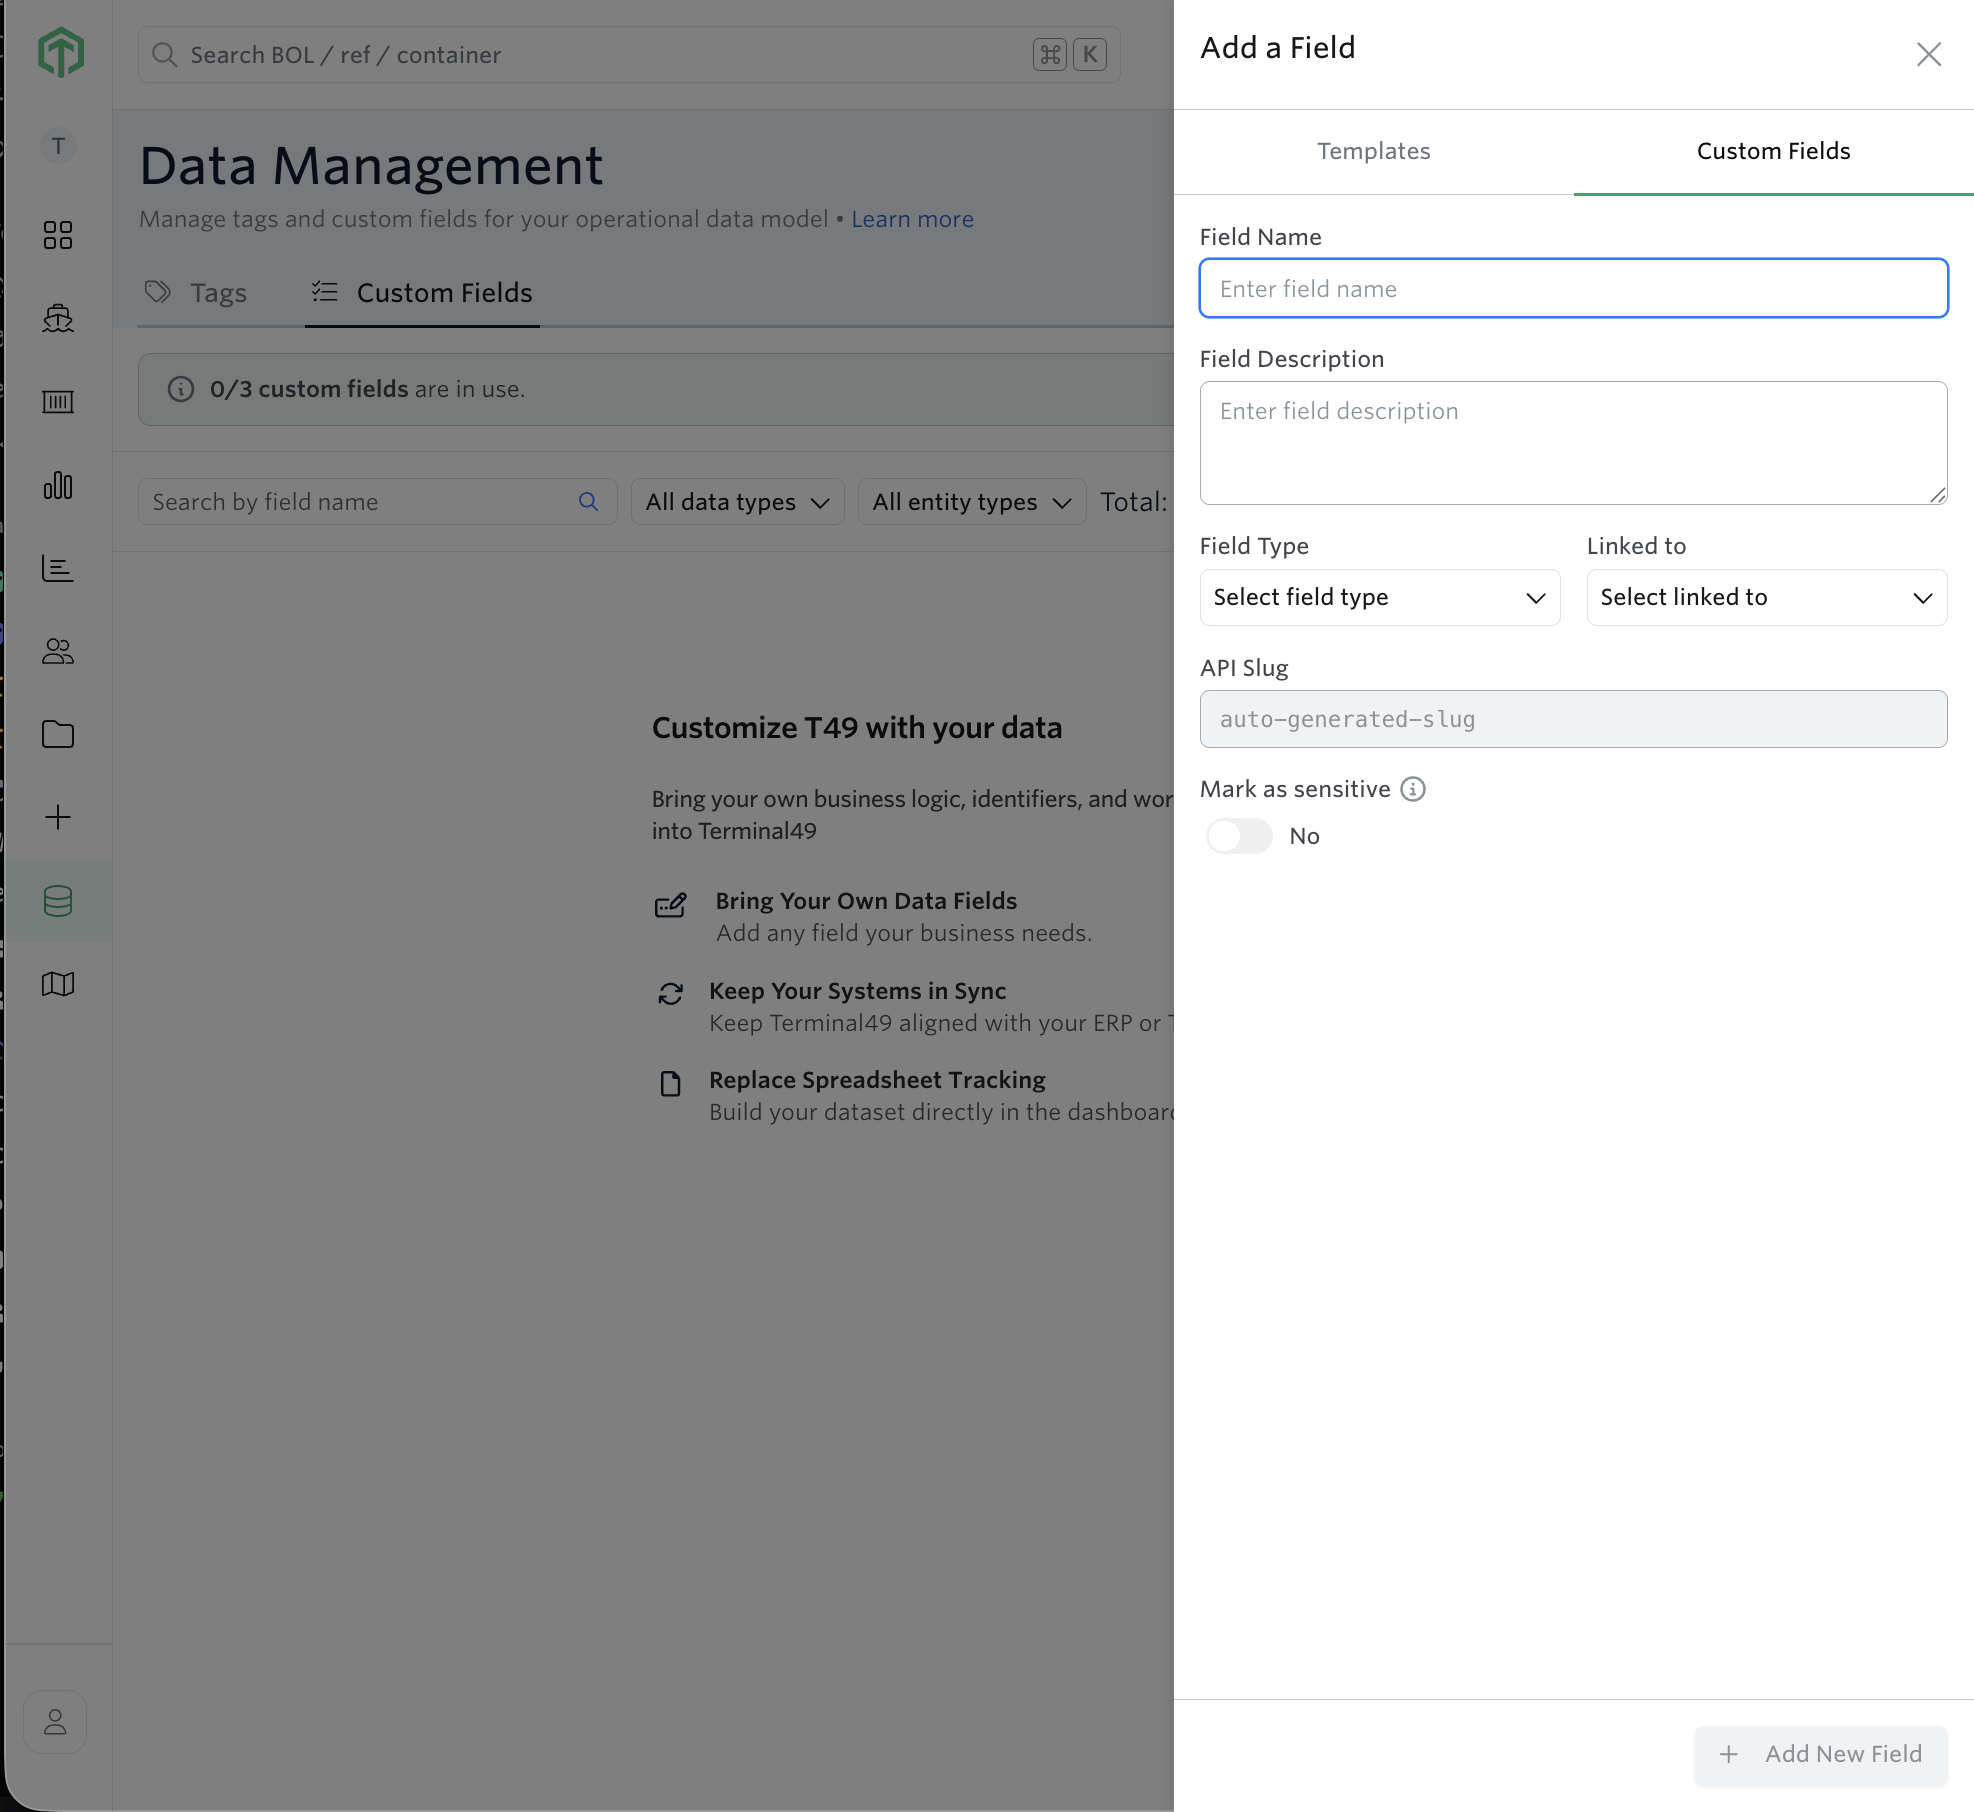
Fill in the details:
Name - what the field is called (ex. Customer reference number, Container issues)
Description - short explanation of how it should be used (this helps your teammates)
Entity - choose Shipment or container
Type - pick a data type (Text, Number, Date, Date & Time, True/False, Select, Multi-select)
If a Text field's value is a URL, it renders as a clickable link wherever it's displayed (Container Dashboard, Shipment detail page, Shared Views).
For Select / Multi-select - add the list of allowed options (you can update this later)
Mark as sensitive - toggle on to exclude this field from Shared Views when Hide Sensitive Columns is turned on (defaults to No)
Click Add New Field
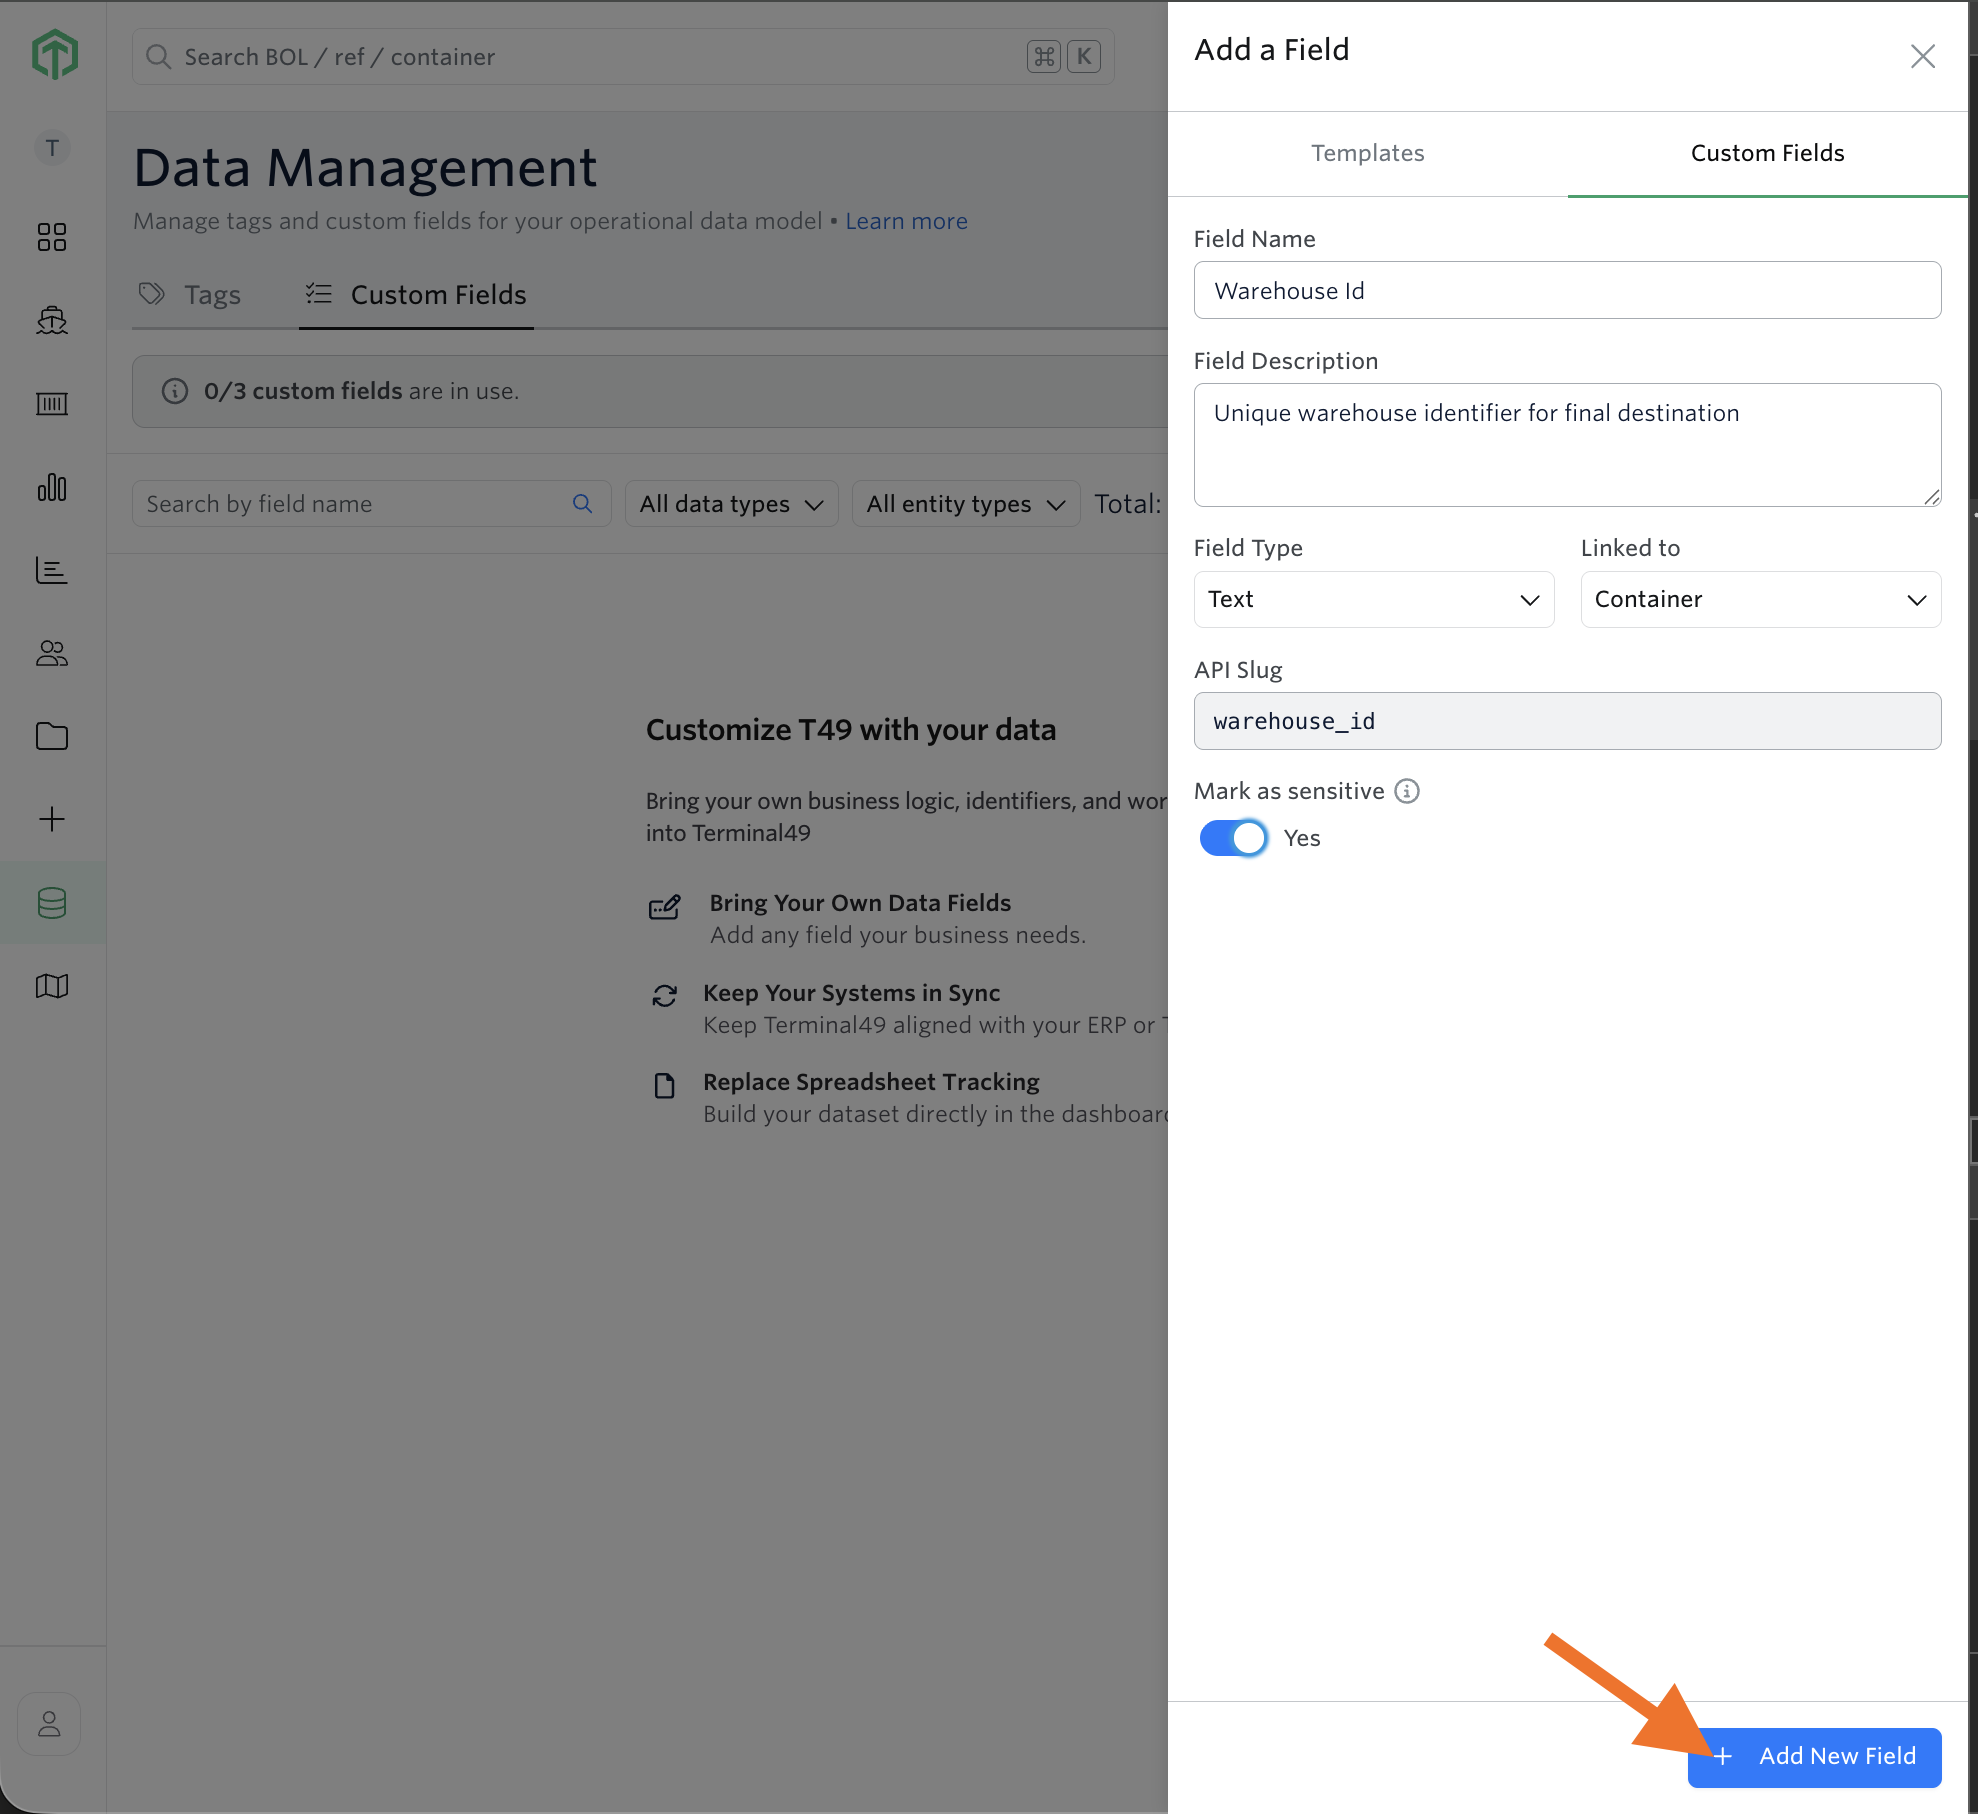
Once created, the field becomes available throughout Terminal49 and your connected systems. You can:
Include it when you create tracking by uploading a CSV or emailing a CSV to Terminal49 (using the appropriate shipment/container column headers).
Add it as a column on the Container Dashboard and use it in filters and saved views.
View and edit it on Shipment detail page.
Use it via API and webhooks, where the field is included in relevant requests and responses.
Bulk update field values across many shipments and containers at once via spreadsheet upload.
The custom field type cannot be changed once it has been set.
Plan Limits
Every account has a limit on how many custom field definitions it can create, based on your plan. You can see your account's current limit and how many you've used on the Custom Fields page (Data → Custom Fields). Only active fields count toward this limit — archived and deleted fields don't count.
If you need more fields than your plan allows, contact your Terminal49 Customer Success Manager.
Archiving & Deleting a Field
From the field's menu in Data → Custom Fields, you can Archive or Delete a field:
Archive hides the field going forward but keeps all its existing data. This is reversible, but currently only a Terminal49 team member can restore an archived field — contact support if you need one back.
Delete permanently removes the field and cannot be undone. You can only delete a field that has no data in it — if it's already in use, archive it instead.
Sensitive Fields
When creating or editing a field, you can mark it as Sensitive. If a Shared View has Hide Sensitive Columns turned on, Sensitive-flagged custom field columns are excluded from what viewers of that Shared View see. See Sharing Container Views for more on Shared View settings.
Reference Numbers (In Beta)
Text, Select, and Multi-select fields can also be flagged as a Reference Number. This makes their values searchable in Terminal49's global search, and eligible for automatic linking to uploaded documents that reference the same value (like a PO number or booking number). Reserve this for genuine identifiers your team looks things up by — not general notes or descriptions.
Clickable Links
If a Text field's value is a full URL (starting with http:// or https://), Terminal49 automatically displays it as a clickable link instead of plain text. This works well for linking out to external resources tied to a shipment or container, like an internal SOP, a SharePoint doc, or a carrier tracking page. This is separate from Reference Numbers above: Reference Numbers link a value to matching uploaded documents inside Terminal49. Clickable Links just render an external URL so people can click through to it.
See next article: Using Custom Fields on the Container Dashboard
If you need help with setting up Custom Fields or have any other questions, the fastest way to get assistance is through our in-app chat. You can also reach us at support@terminal49.com.