How To Update Reference Numbers on Shipments
Last updated: May 13, 2026
Video Walkthrough: Adding Reference Numbers to Existing Shipments and During Shipment Upload
Adding a reference number when manually creating a shipment

Click the +Track or +Add Shipment button
Type your BL/Booking/Container Number, Shipping Line, and optionally your reference number.
Hit Enter after each reference. You can click the X button to remove the reference number. You will see previously used reference numbers as you type. You can add as many reference numbers as you need.
Adding a reference number when importing shipments from a spreadsheet

Click the +Track or +Add Shipment button
Scroll to the Import via CSV Upload section.
Make sure you are using the CSV Template.
On your template, add the reference numbers separated by a comma. No spaces are needed.
Upload your file directly or copy/paste from your template into the table in the Terminal49 import tool.
How Bulk Update Reference Numbers For Your Shipments
1. Prepare Your Spreadsheet
Create a CSV or Excel file with the following columns:
Column | Description |
Shipment Number | The shipment number (BOL/Booking number) |
Container Number | The container number |
Reference Number | Reference number for each shipment. |
Example spreadsheet:
Shipment Number | Reference Number |
MAEU123456789 | PO-2024-001 |
MAEU123456789 | PO-2024-001 |
OOLU987654321 | PO-2024-002 |
Tips for your spreadsheet:
Use the exact Custom Field names as column headers (matching how they appear in Terminal49).
Leave cells blank if you don't want to change that field for a particular row
You can mix shipment-level and container-level fields in the same spreadsheet
2. Upload Your Spreadsheet
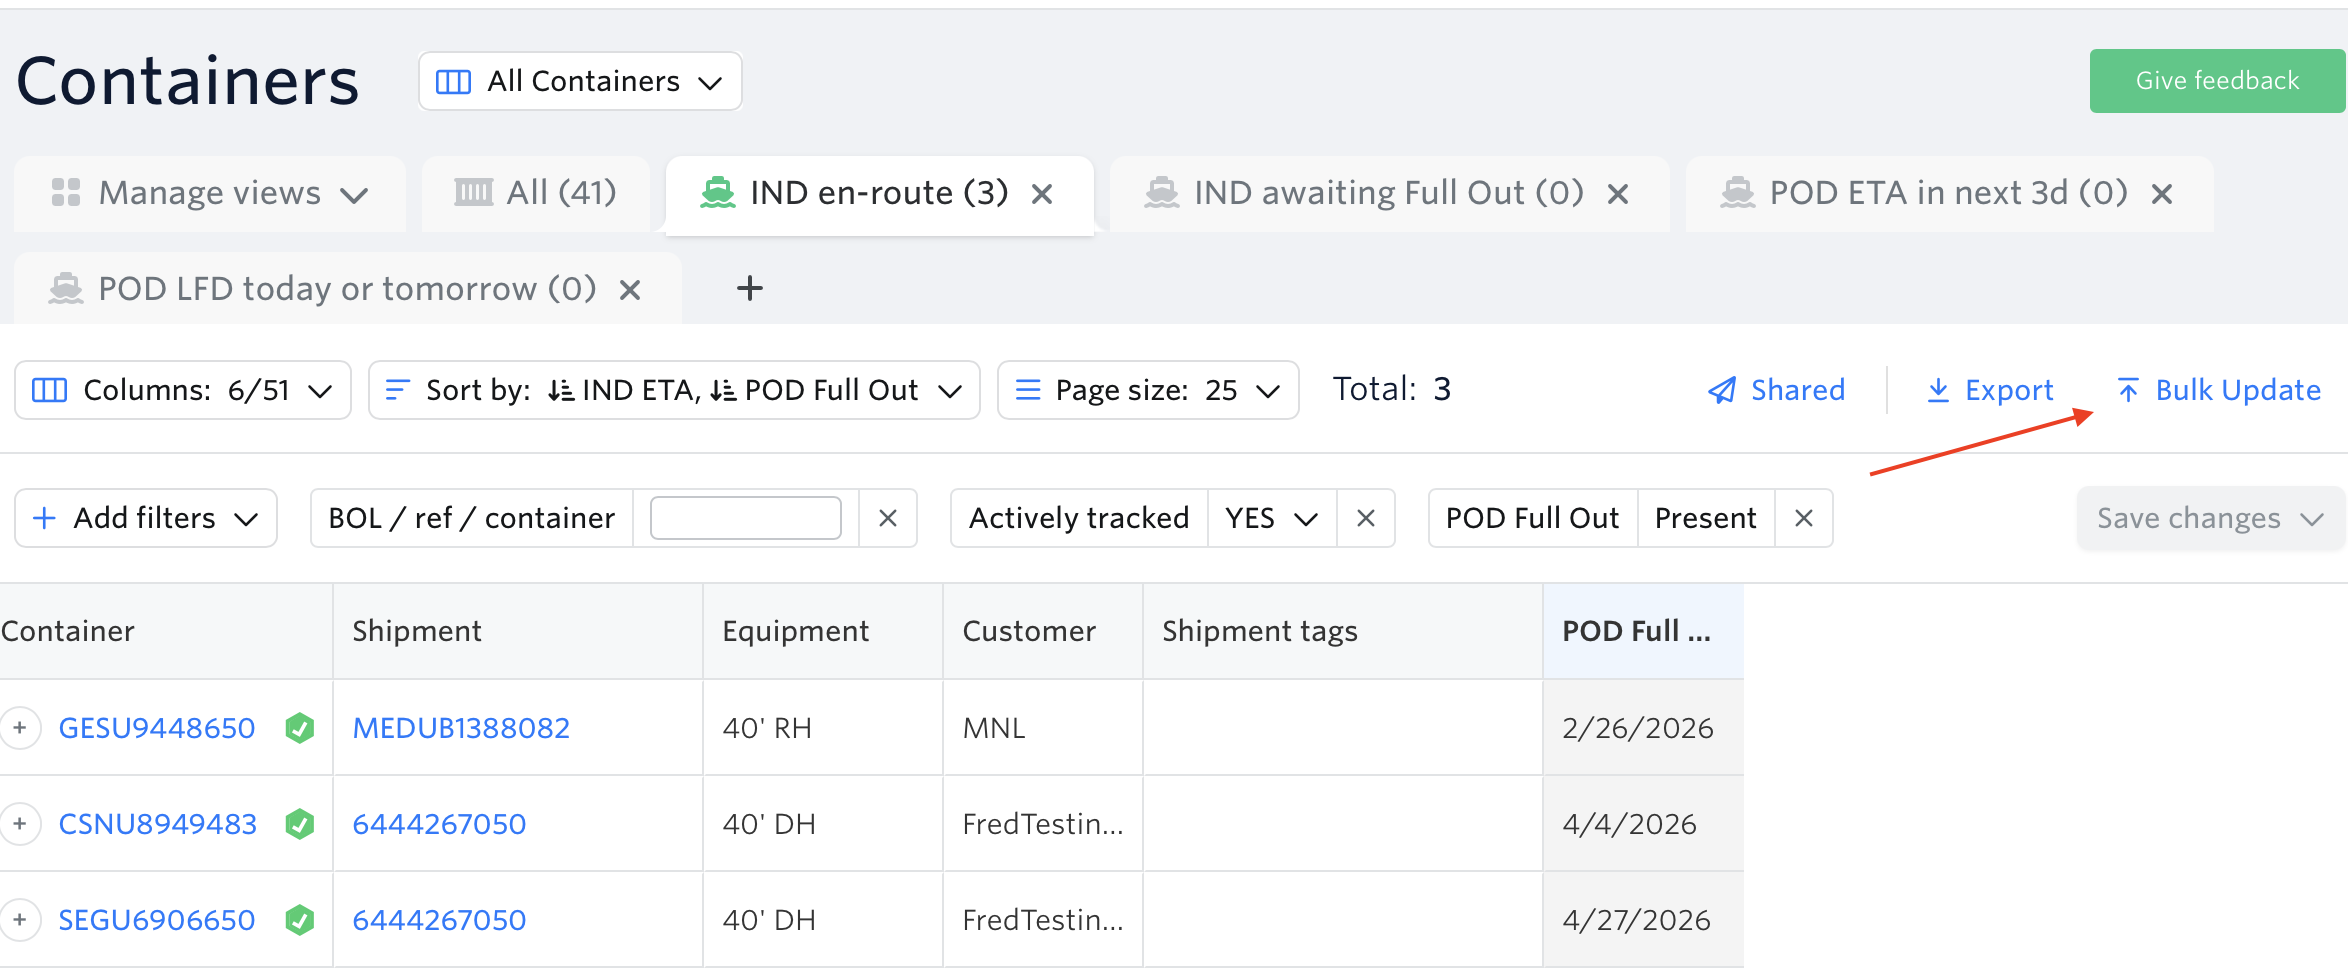
Go to the Container Dashboard.
Click the Bulk Update button.
Upload your CSV or Excel file.

3. Map Your Columns
After uploading, you'll see a mapping screen:
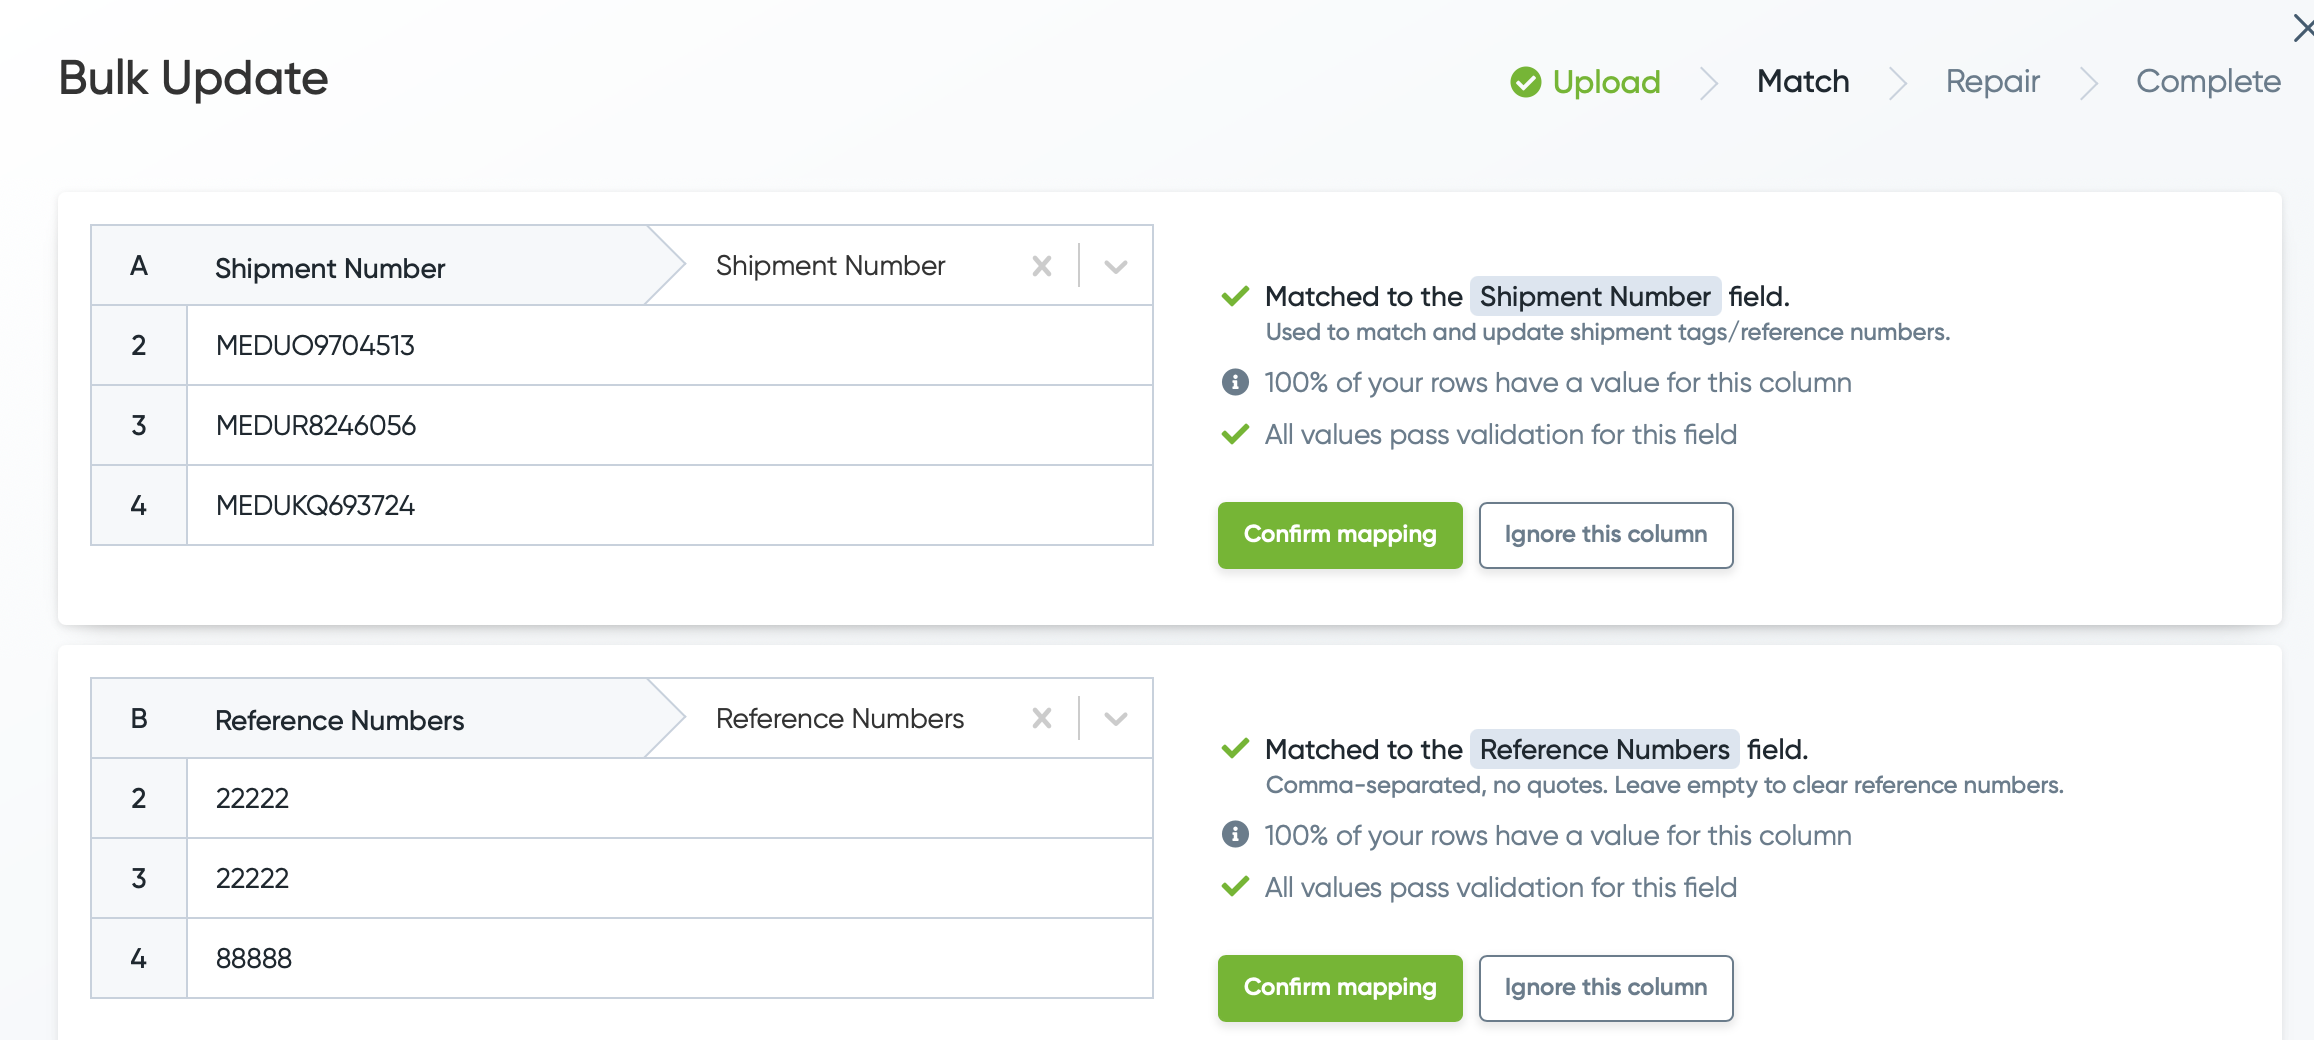
Confirm mapping of the Shipment Number and Reference Number to the correct columns in your file.
4. Review the data

Ensure all entered information is correct. If everything is accurate, click “Continue” in the lower-right corner of the screen.
Adding/Editing Reference Numbers For Existing Shipments On Container Level
On the shipment's page, hover your mouse over the container number > Click Edit

Add the reference number > Hit Save

Edit existing reference number > Hit Save

Successfully added reference numbers on container level:

See next article: How to Mark Containers as Delivered
If you need help with updating reference numbers or have any other questions, the fastest way to get assistance is through our in-app chat. You can also reach us at support@terminal49.com.