Creating Your Party Directory
Last updated: August 1, 2026
You can create a party in two ways:
From the Network tab, to add it to your organization's directory.
Directly from a shipment or container, while assigning a party to a role.
Directly from a shipment or container dashboard, while assigning a party to a role.
Creating a party through the Network Tab
Click New Party
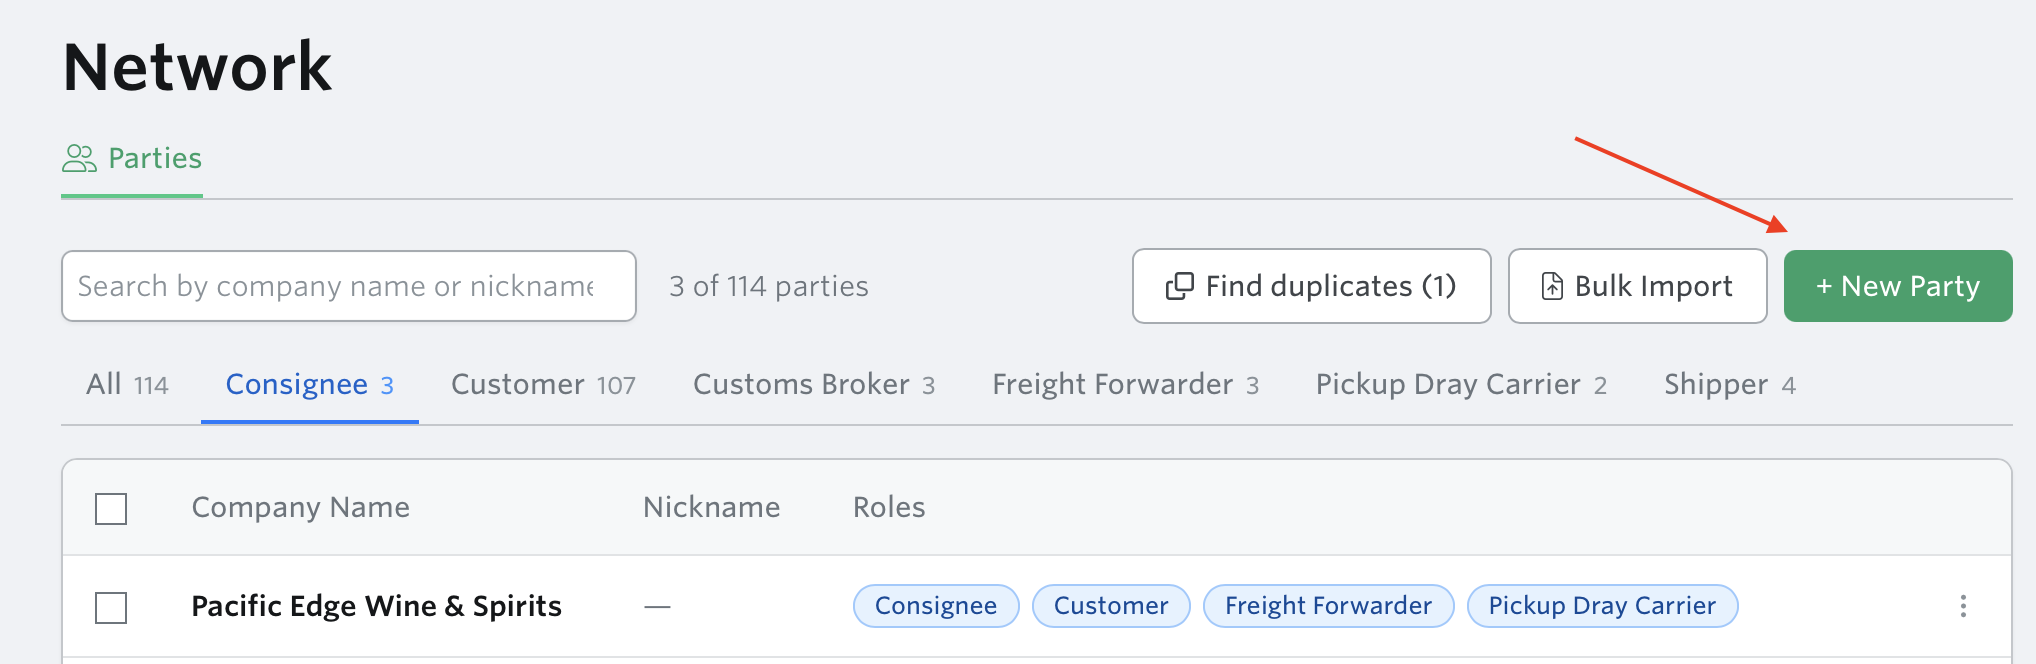
Enter the party name
Add at least one contact
Hit Save
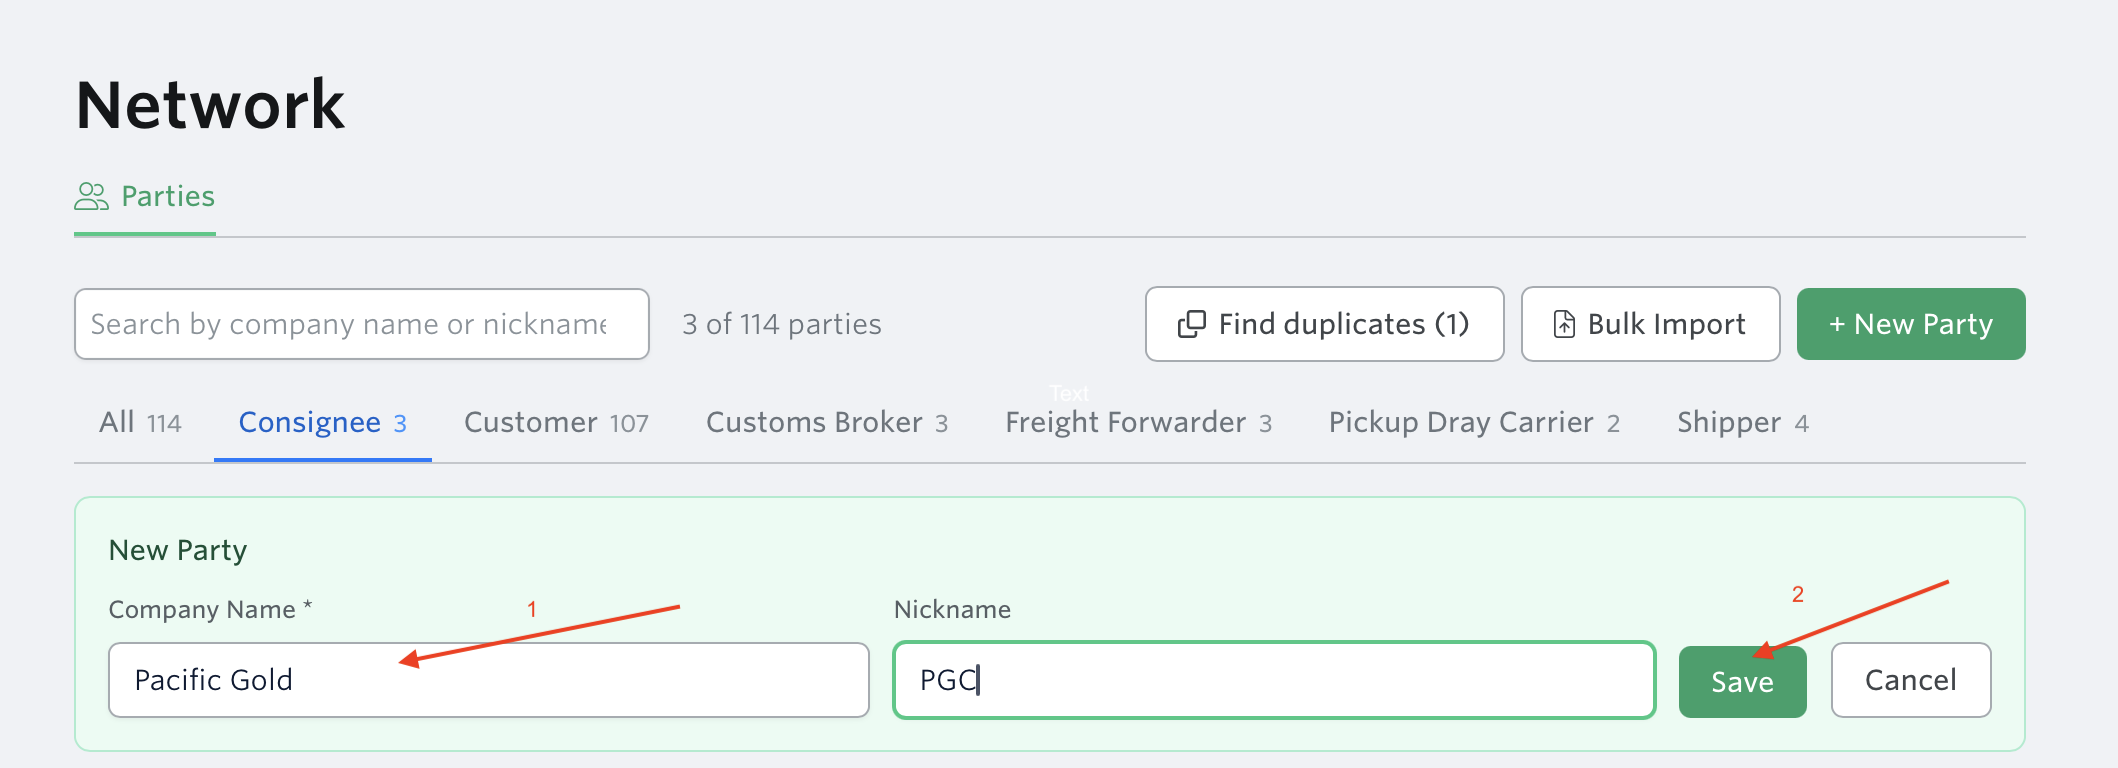
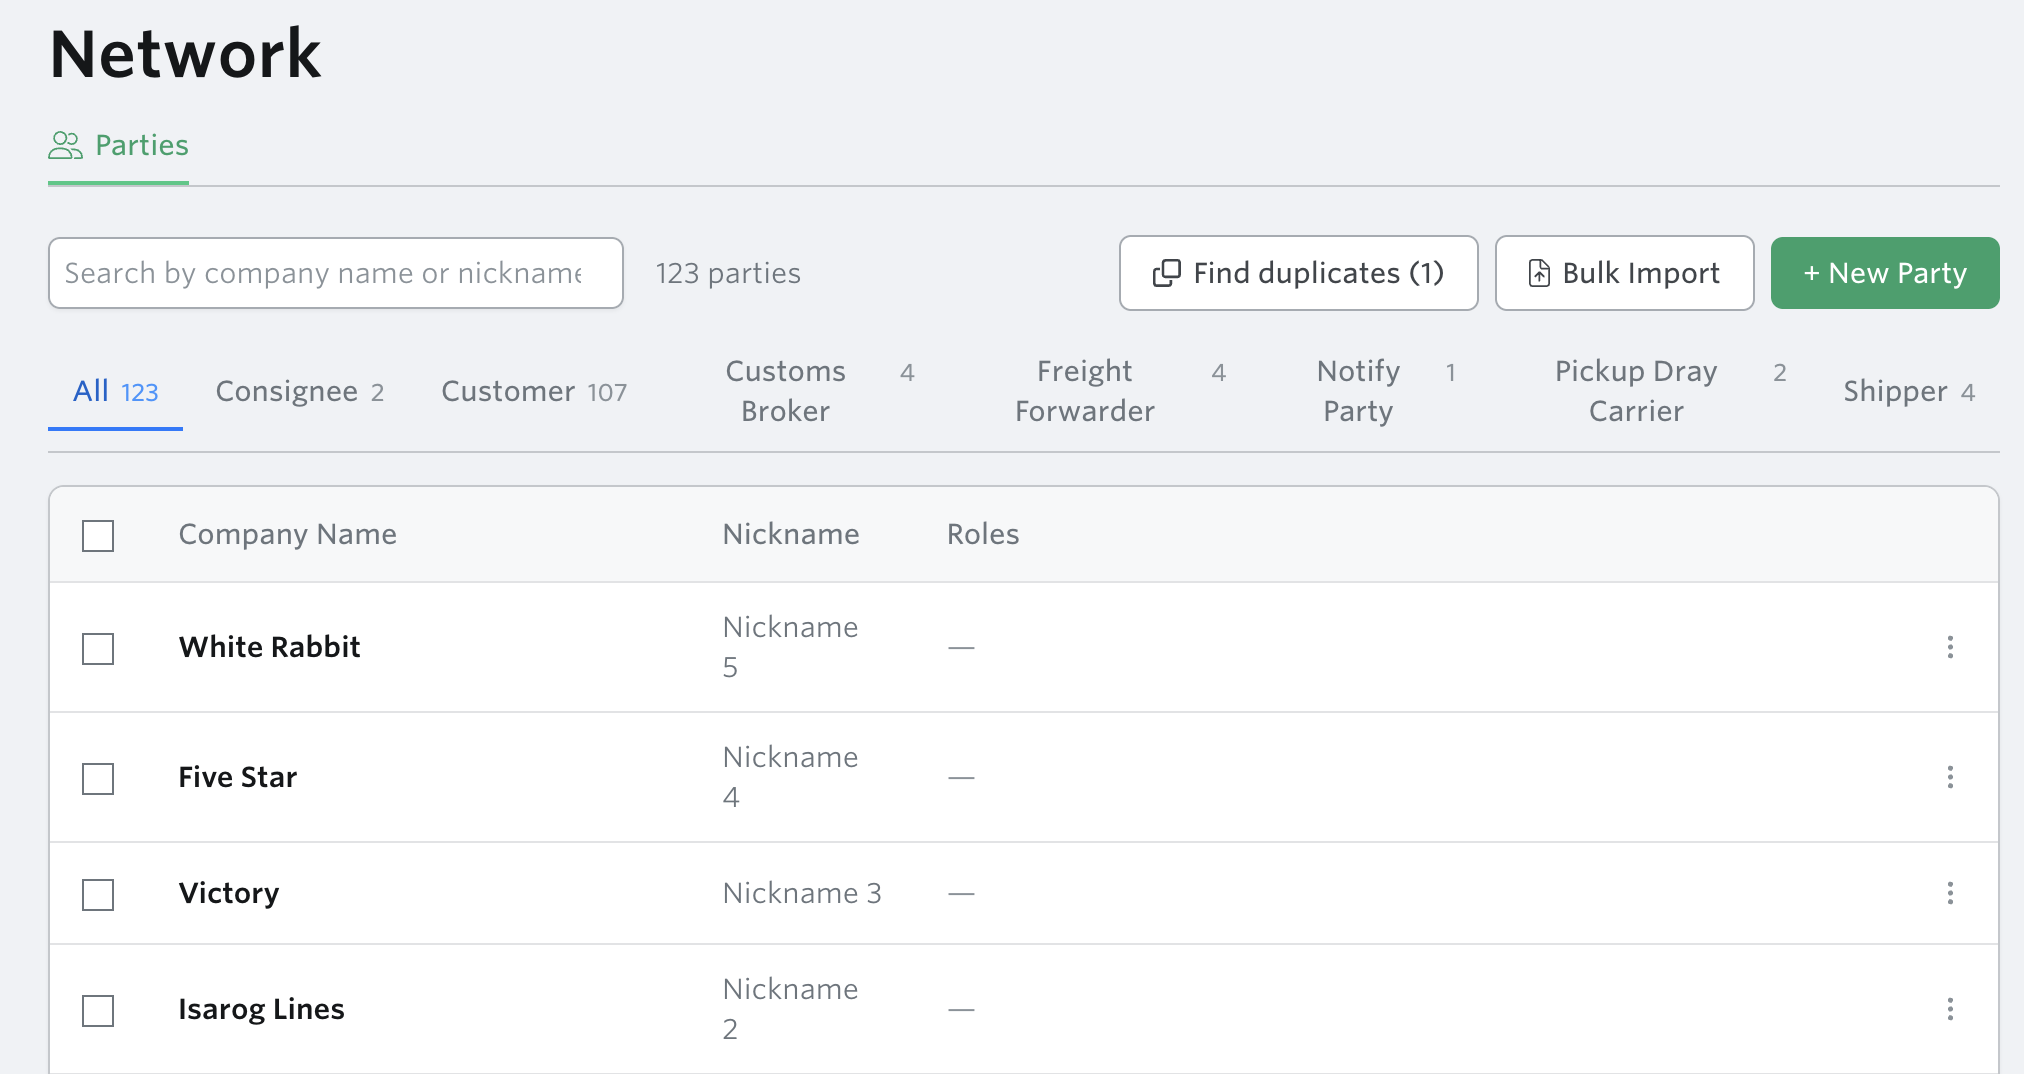
Creating new parties From the Network tab:
You can also bulk-add parties to your directory in one upload, without assigning them to specific shipments.
Go to Network tab
Click Bulk Import
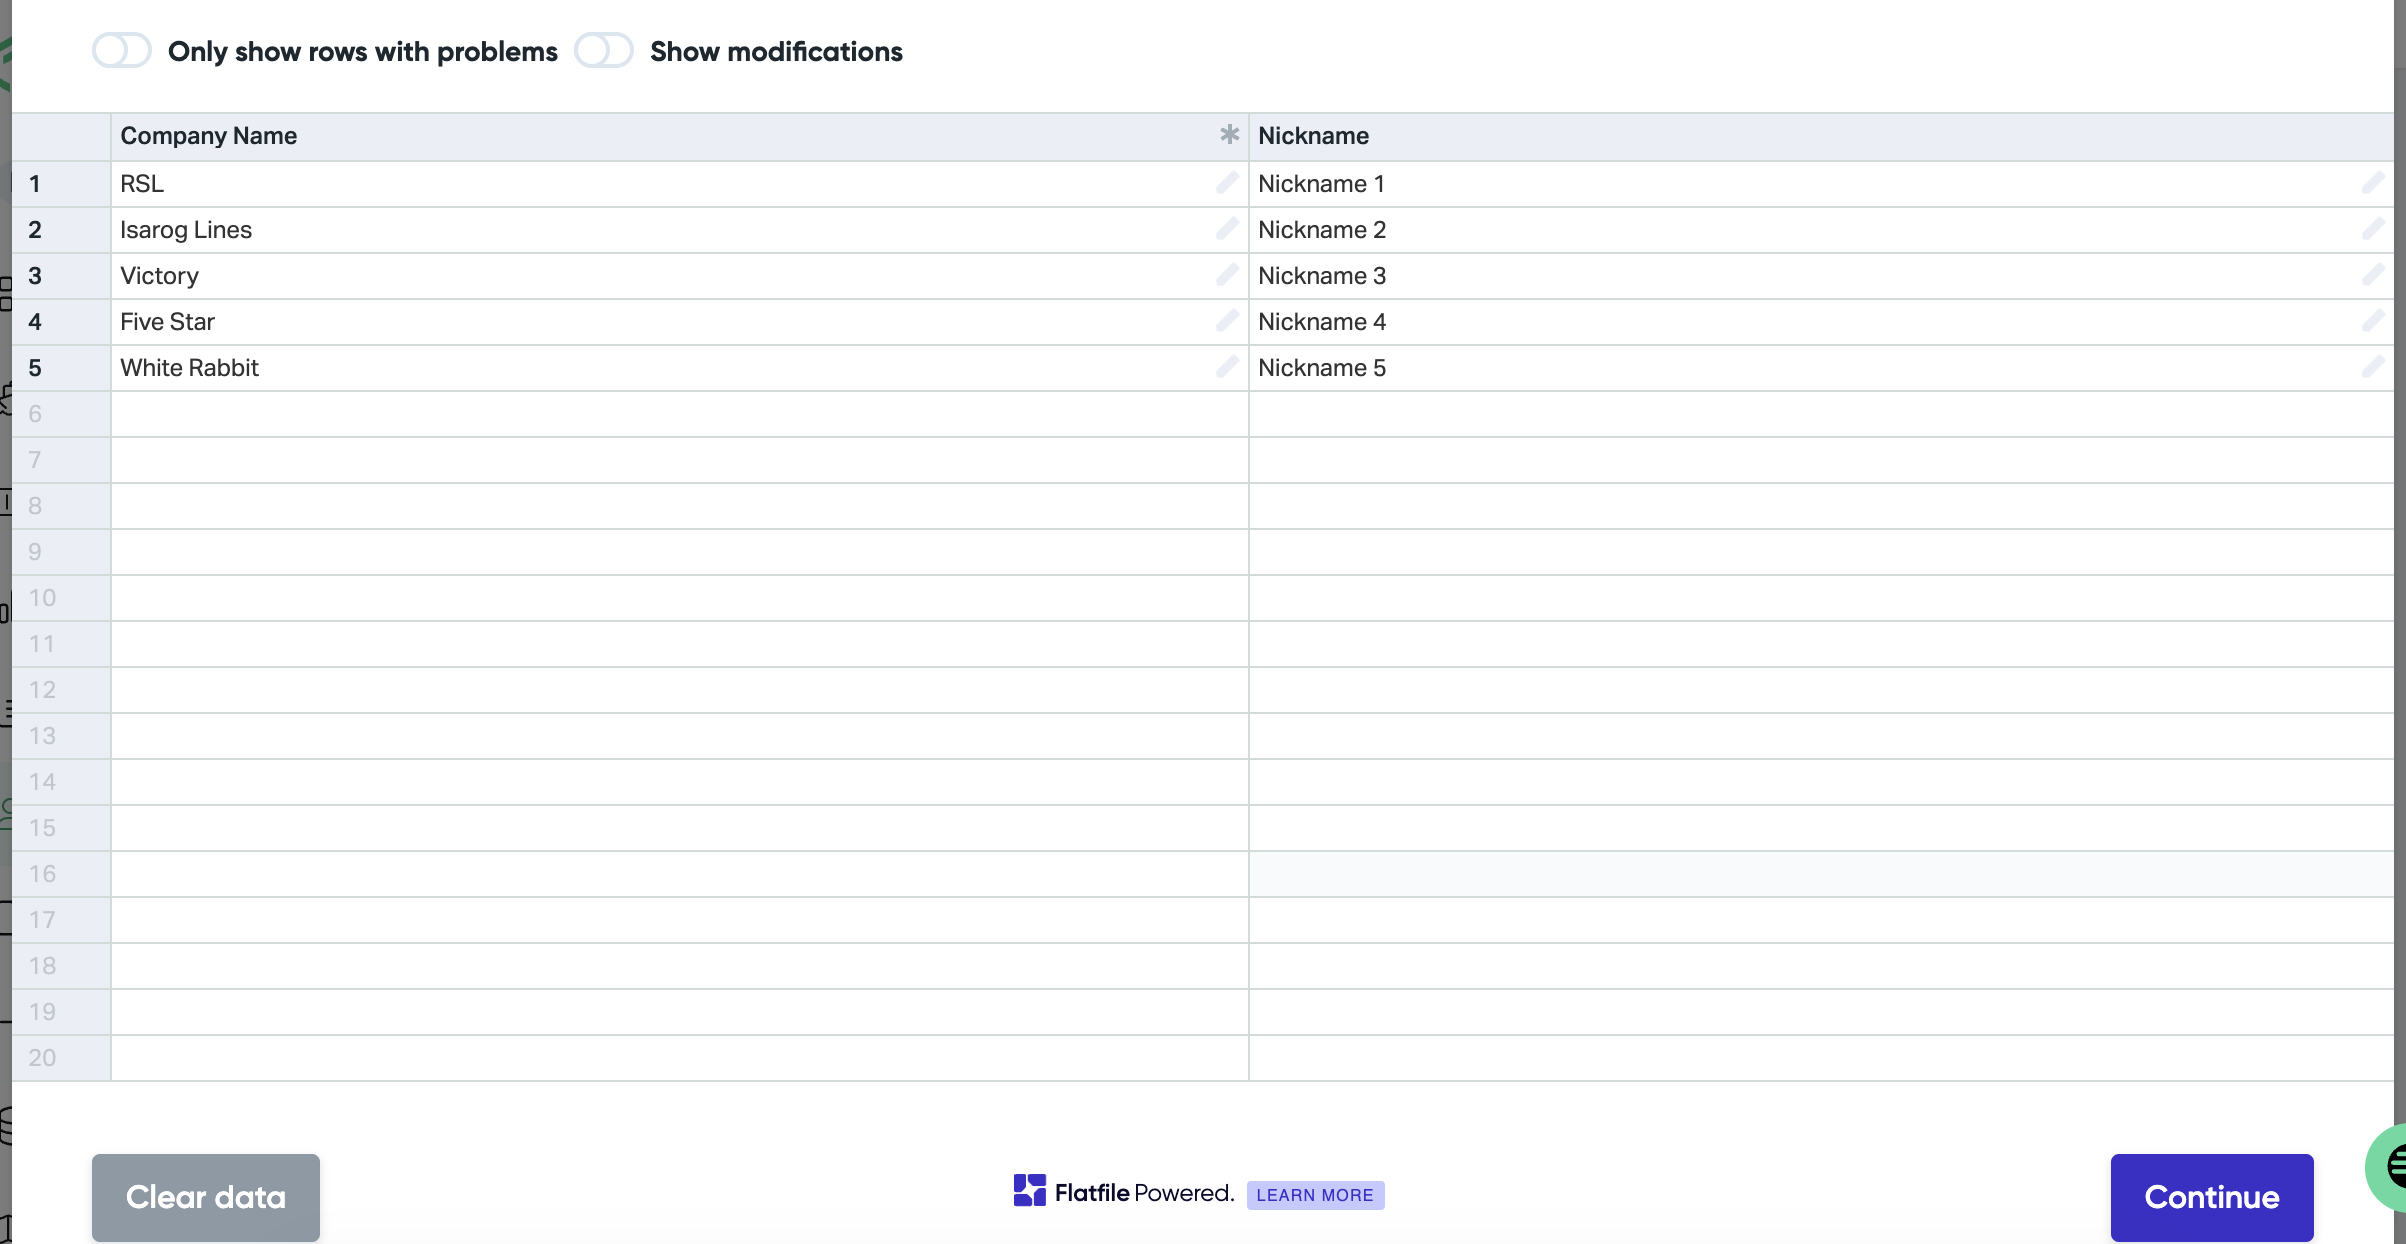
Fill out the company name and nickname columns (optional) then click 'continue'.
You will receive a prompt 'Are you ready to submit?' - click yes if you no longer need to make changes.
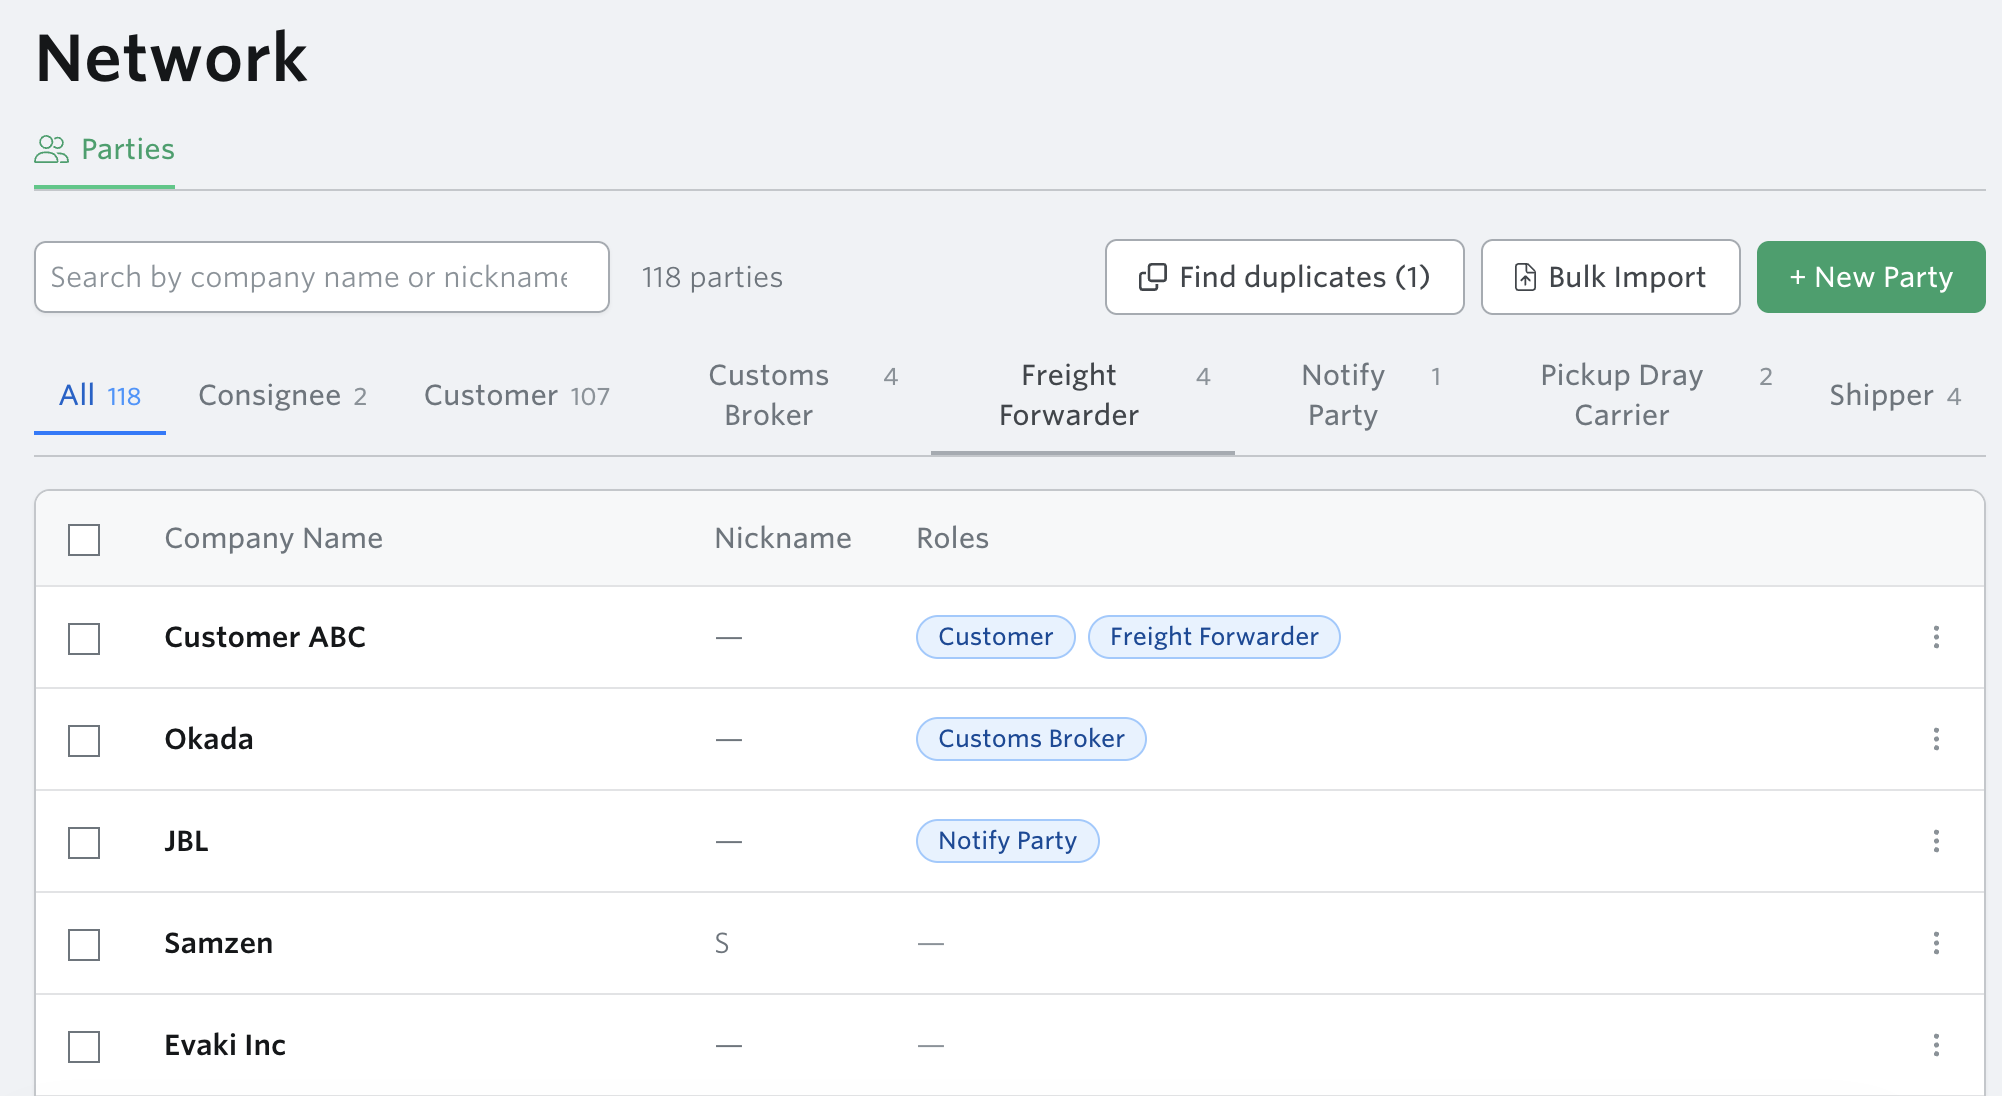
All newly added parties will appear in the network tab.
Creating a party from any shipment or container:
Go to the Parties panel on the right side bar
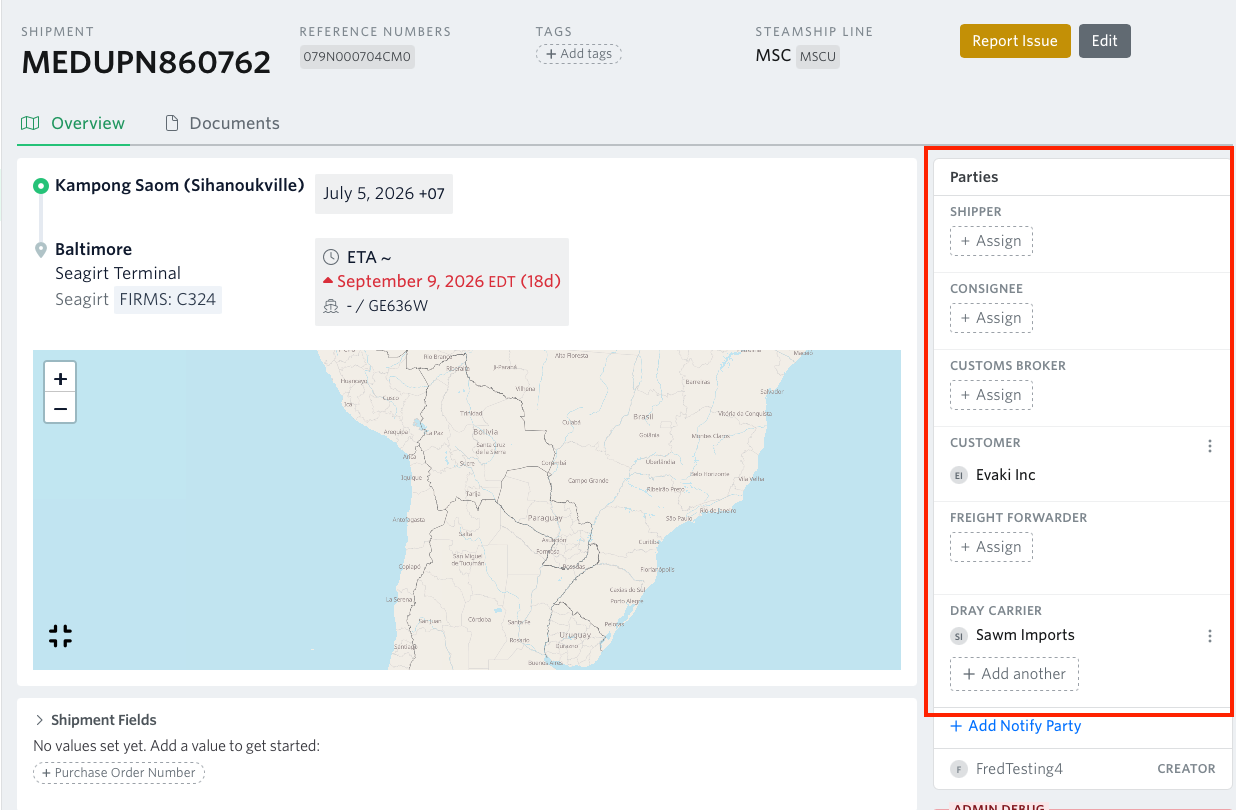
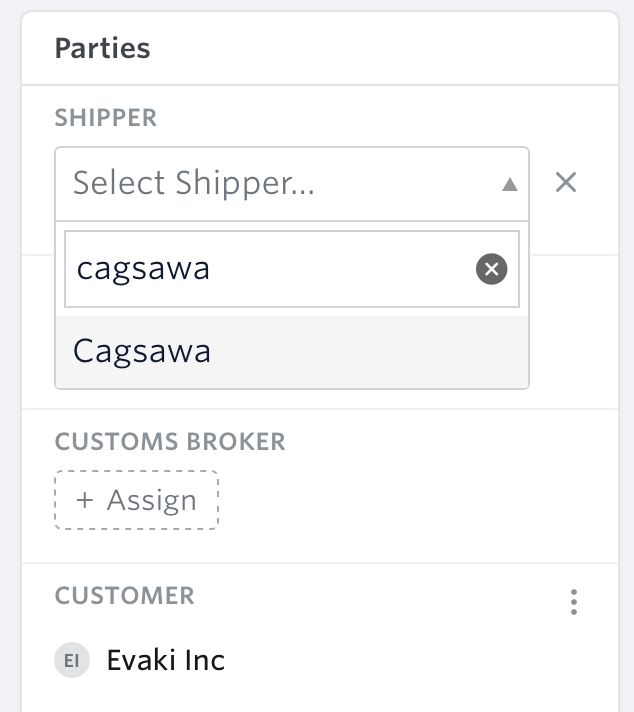
Click '+ Assign' next to the relevant role and type a name in the search field
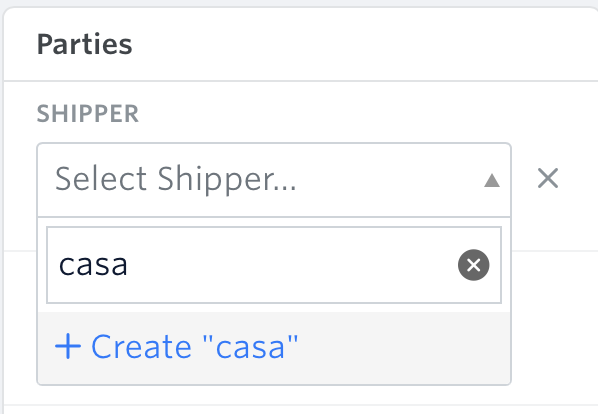
If no match is found, you'll see an option to create the party inline
Tip: When you start typing, Terminal49 will surface existing parties that match — so you don't accidentally create a duplicate.
Should you have any questions or need assistance creating your party directory, please reach out to our support team via support@terminal49.com or our web chat.
Next article: Assigning parties to shipments & containers